ubuntu18-mysql8.0
https://www.jianshu.com/p/9e69e0e38665
安装源(如果已更新,可以不需要)
ubuntu18 默认版本是MySQL5.7
https://dev.mysql.com/doc/refman/8.0/en/linux-installation.html
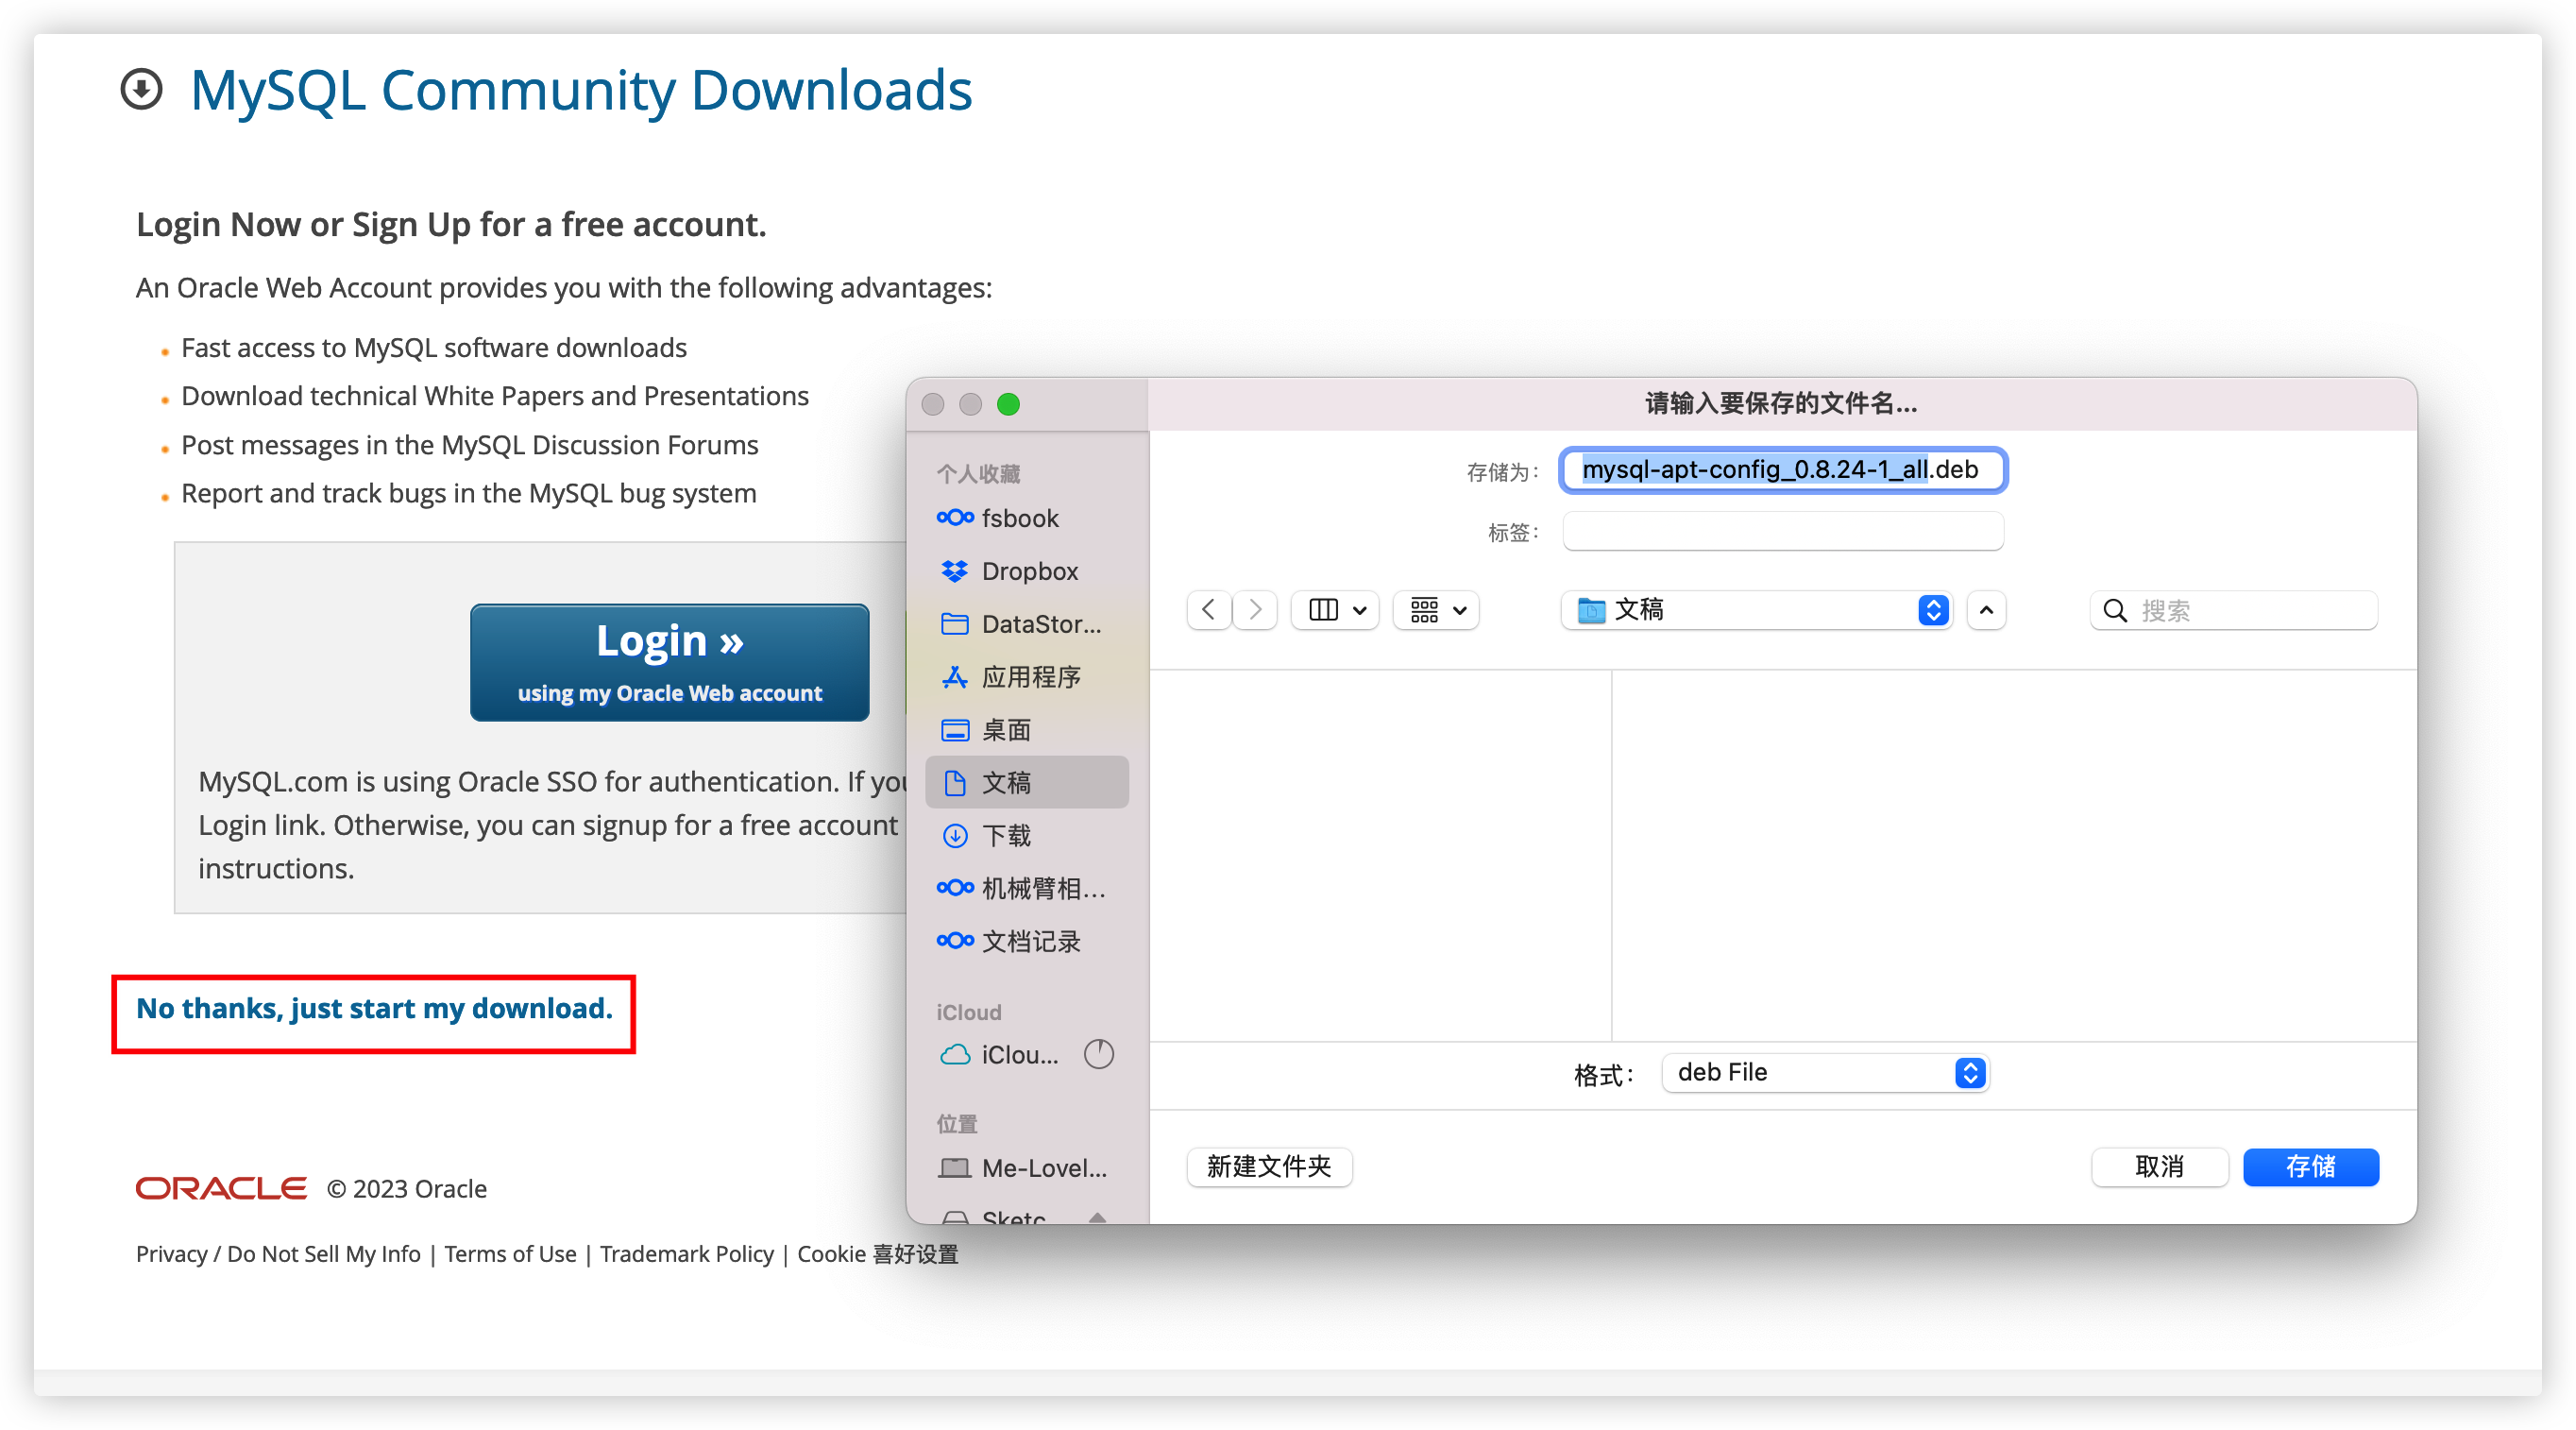
需要下载包
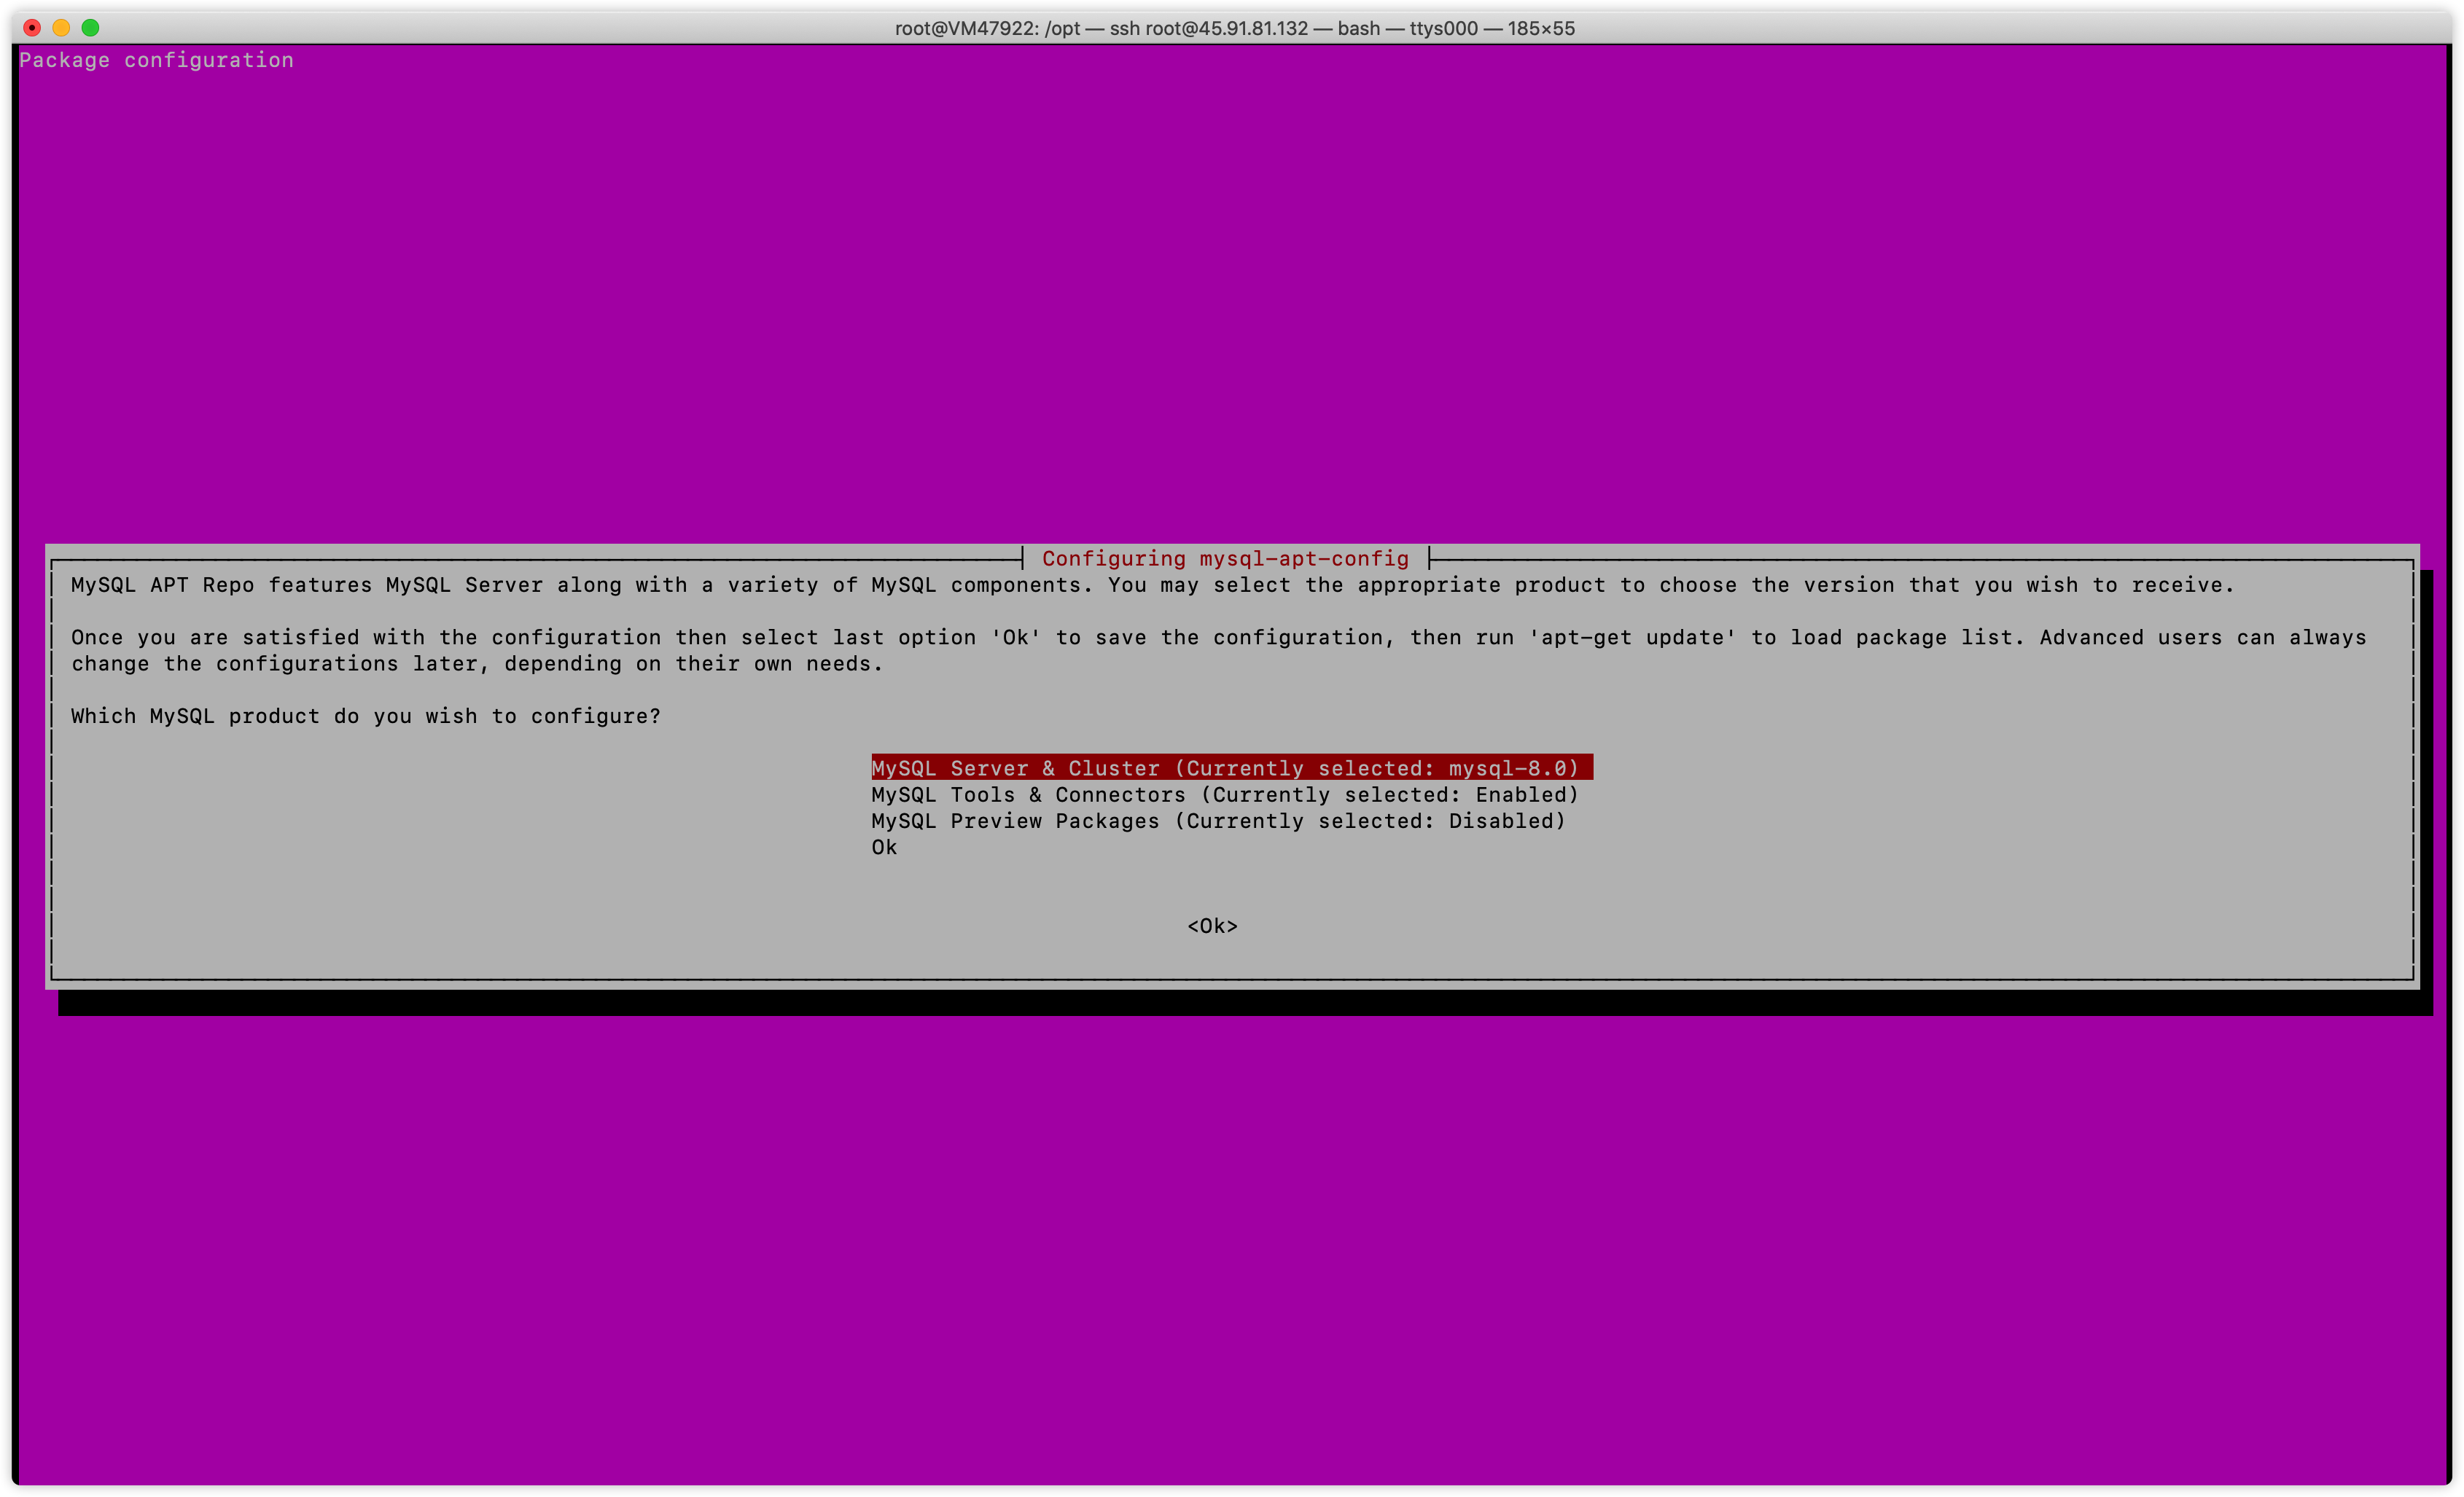
注意:确认第一项MySQL Server & Cluster后面的版本是否是8.0版本,如果不是,将光标移动到此处,enter键修改为8.0。如果是,直接向下选OK回车
更新默认源
1
2
3
4
5
6
7
8
9
10
11
12
13
14
15
16
17
18
19
20
apt-get update

更新遇到问题
Get:1 http://repo.mysql.com/apt/ubuntu bionic InRelease [20.0 kB]
Hit:2 http://azure.archive.ubuntu.com/ubuntu bionic InRelease
Hit:3 http://azure.archive.ubuntu.com/ubuntu bionic-updates InRelease
Hit:4 http://azure.archive.ubuntu.com/ubuntu bionic-backports InRelease
Hit:5 http://azure.archive.ubuntu.com/ubuntu bionic-security InRelease
Err:1 http://repo.mysql.com/apt/ubuntu bionic InRelease
  The following signatures couldn't be verified because the public key is not available: NO_PUBKEY 467B942D3A79BD29
Reading package lists... Done
W: GPG error: http://repo.mysql.com/apt/ubuntu bionic InRelease: The following signatures couldn't be verified because the public key is not available: NO_PUBKEY 467B942D3A79BD29
E: The repository 'http://repo.mysql.com/apt/ubuntu bionic InRelease' is not signed.
N: Updating from such a repository can't be done securely, and is therefore disabled by default.
N: See apt-secure(8) manpage for repository creation and user configuration details.

解决方法
# 将 467B942D3A79BD29 替换为 上面 报错时出现的值
sudo gpg --keyserver keyserver.ubuntu.com --recv 467B942D3A79BD29 sudo gpg --export --armor 467B942D3A79BD29 | sudo apt-key add -
安装
安装
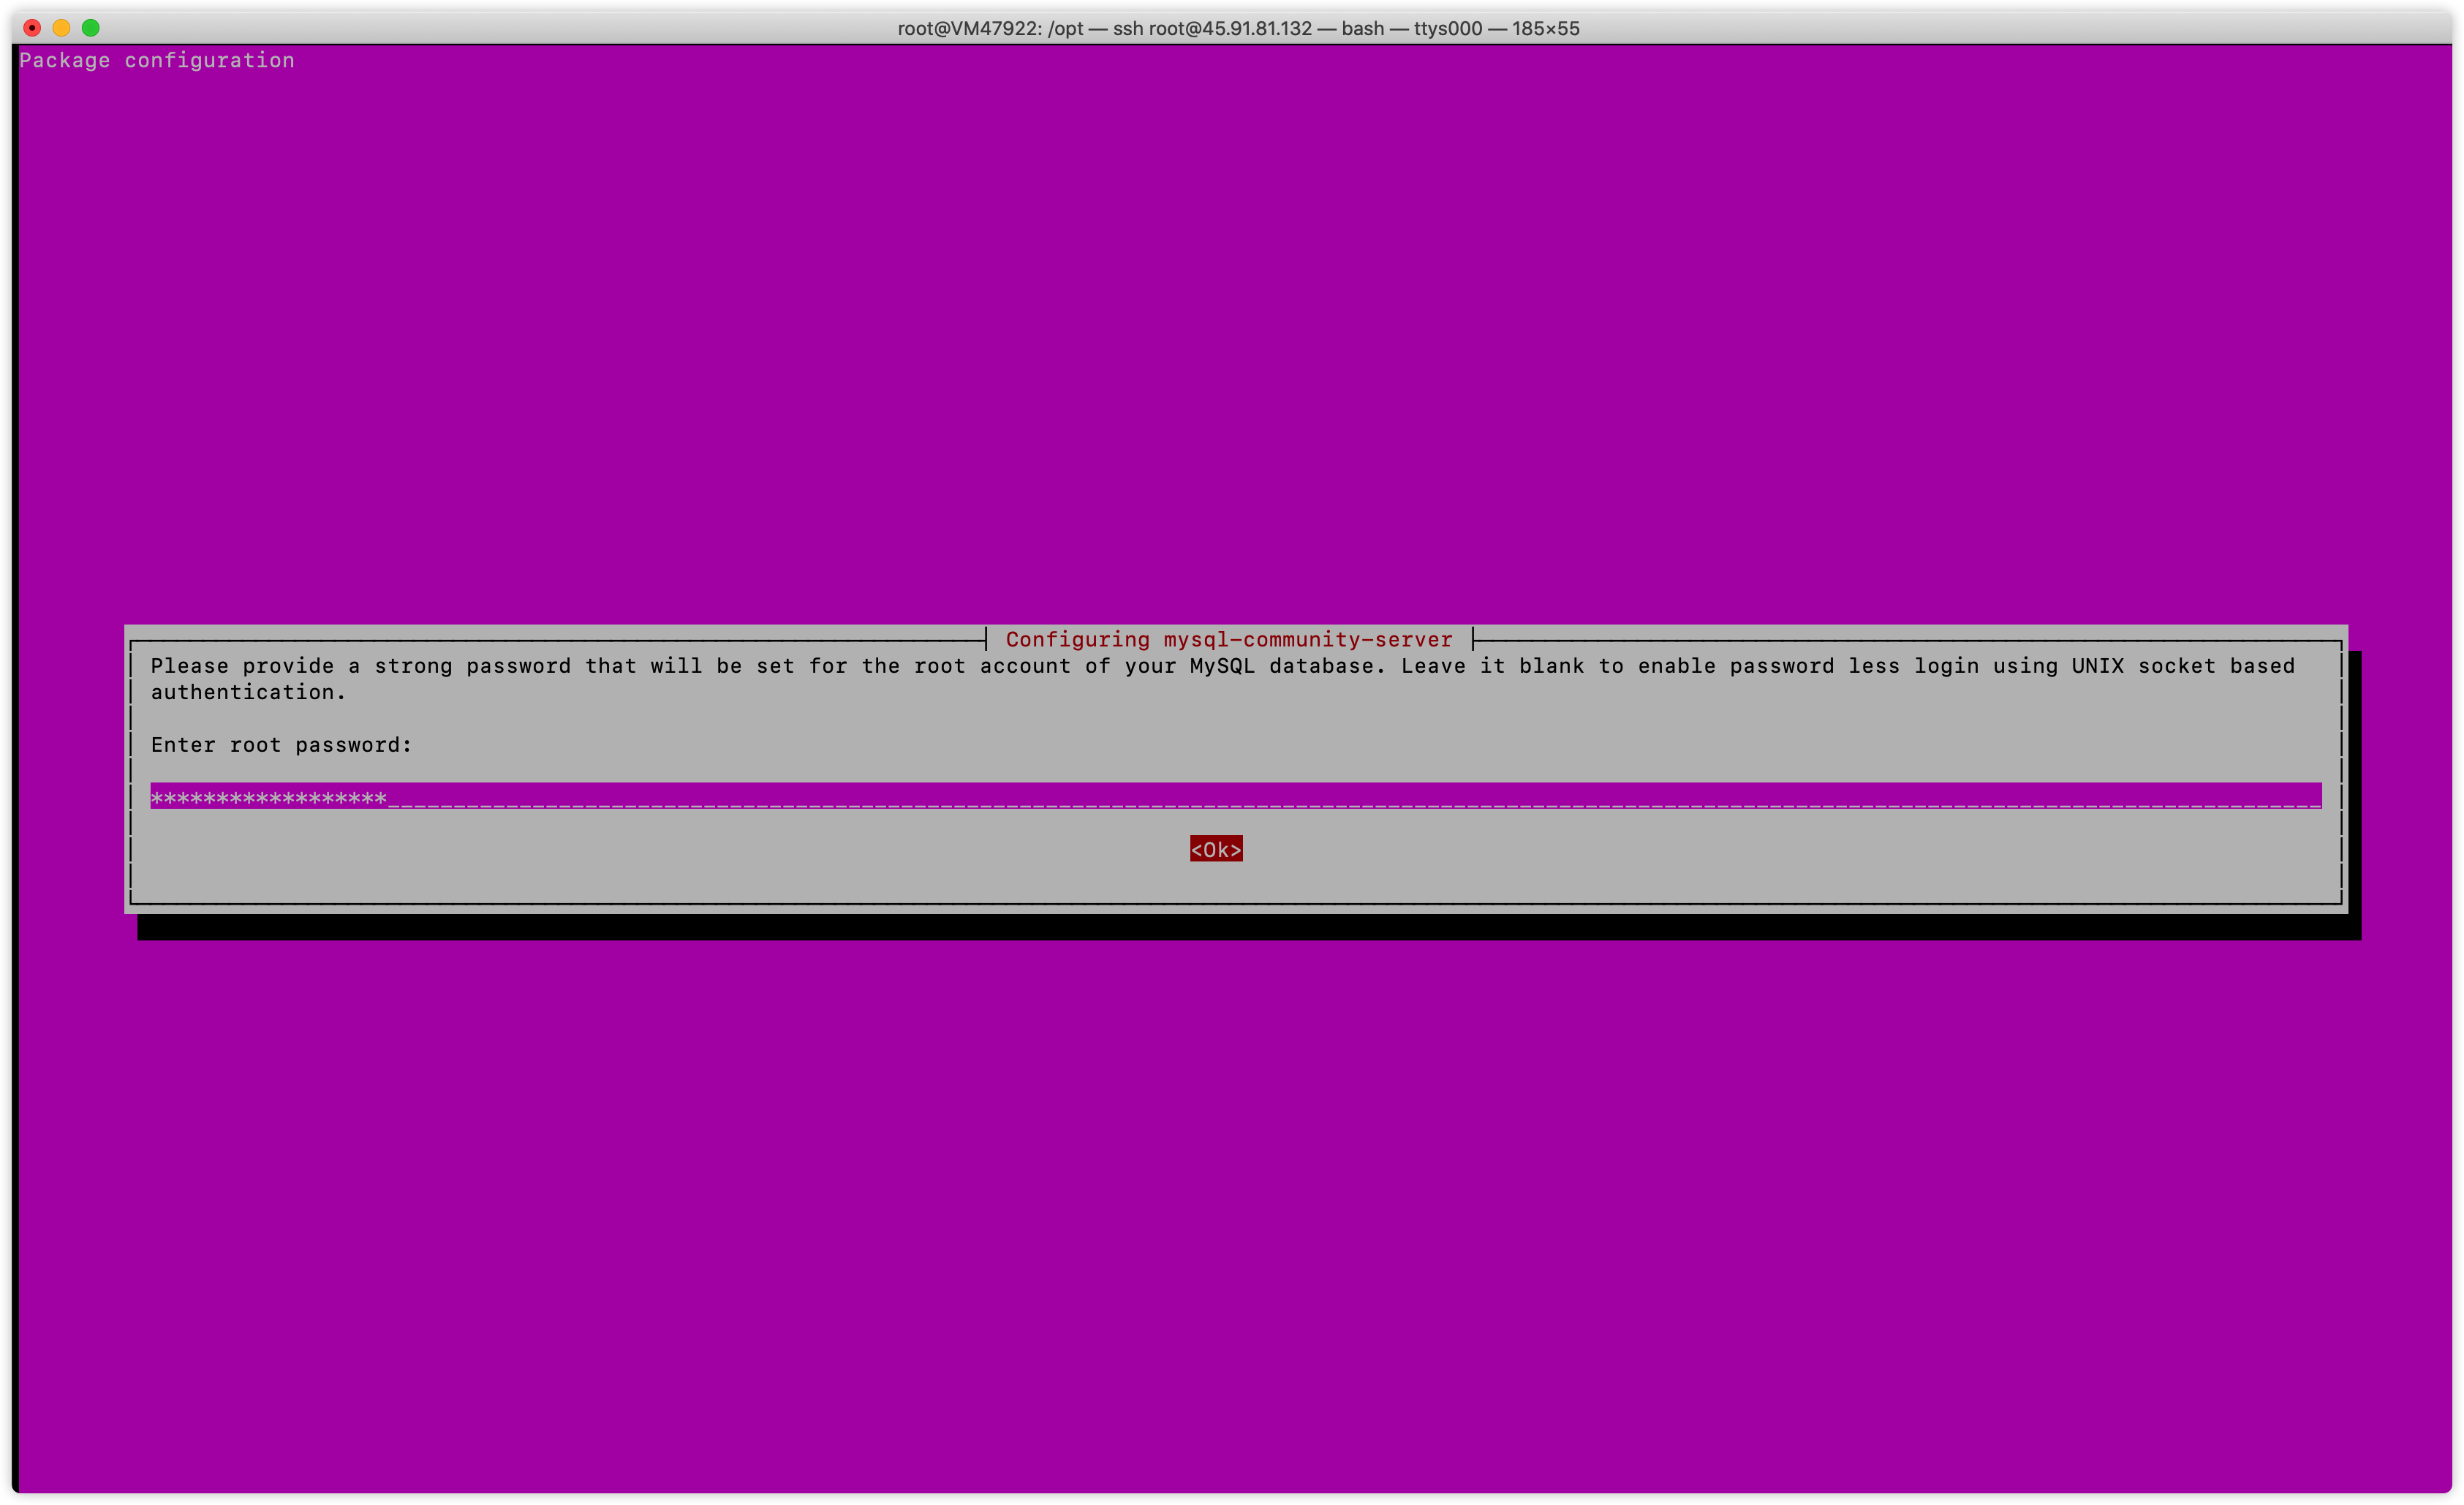
安装时,首先会弹出设置root用户的密码,输入 “要输入的密码”,然后回车
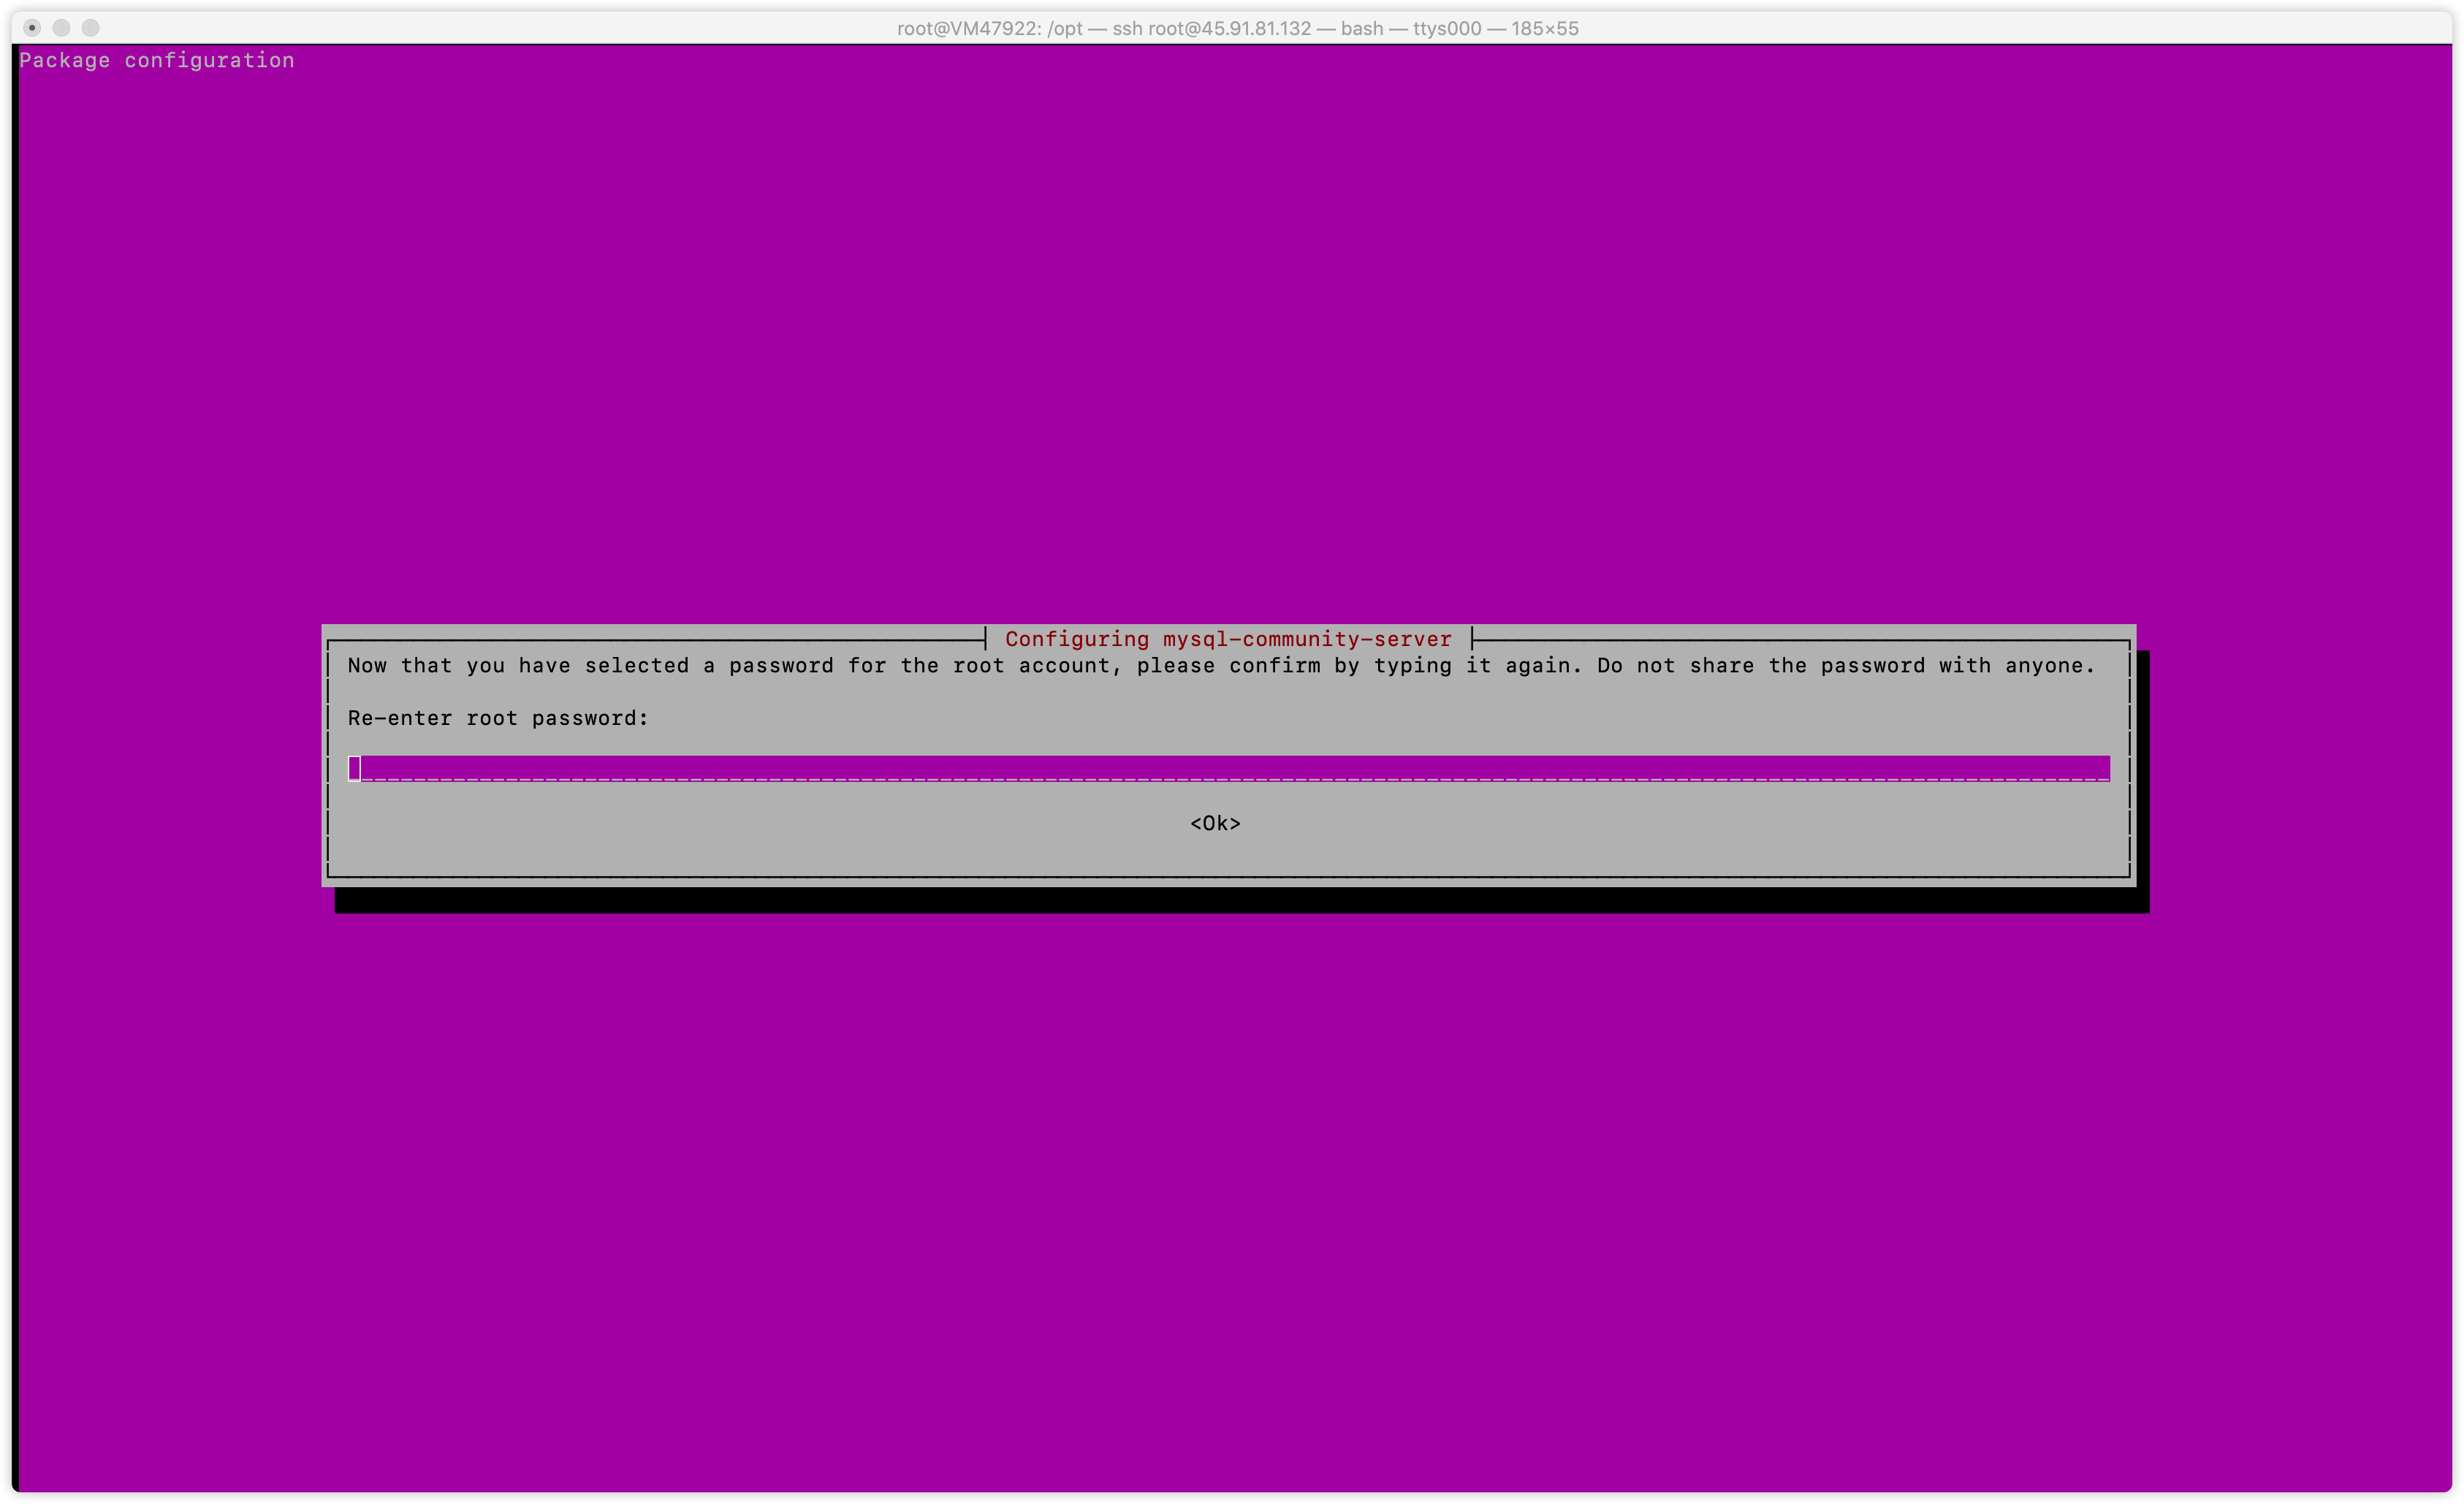
重新输入密码:
使用密码加密的方式,两个都可以,可以选择 5.x的,兼容大部分的项目

验证版本对不对
1
mysql -V
设置开机启动
1
2
3
4
5
6
7
8
9
10
11
12
13
14
15
16
17
# 查看状态,装完后默认就启动了,默认开机启动
systemctl status mysql

# 关闭开机启动
systemctl disable mysql

# 设置开机启动
systemctl enable mysql

# 启动 mysql 服务
systemctl start mysql

# 关闭 mysql 服务
systemctl stop mysql

# 重启服务
systemctl restart mysql
登录
1
2
3
#使用 root 用户连入 mysql, 默认不需要密码
mysql -u root -p
创建用户并授权,修改密码,删除用户
1
2
3
4
5
6
7
8
9
10
11
12
13
14
15
16
17
18
19
20
21
22
创建用户并授权(默认使用 caching_sha2_password 加密方式,新引入的)
create user 'user'@'localhost' identified by '明文密码';
grant all privileges on *.* to '用户名'@'localhost' with grant option;
flush privileges;

eg:
create user 'chatgpt'@'%' identified by 'V2^t~fQN3~HSraCa99';
grant all privileges on *.* to 'chatgpt'@'%' with grant option;
flush privileges;

修改密码,指定使用 mysql_native_password 加密方式(mysql5.7/5.6使用的方式)
ALTER USER '用户名'@'localhost' IDENTIFIED WITH mysql_native_password BY '明文密码';

修改密码,指定使用 caching_sha2_password 加密方式(mysql8使用的方式)
alter user 'root'@'localhost' identified WITH caching_sha2_password BY 'root' PASSWORD EXPIRE NEVER;

删除用户
DROP USER '用户名'@'localhost';

是否用户允许在某些ip登录,修改 localhost
允许ip段的写法类似 '192.168.1.%'
具体操作方式
[[学习相关/各类中间件的使用/mysql/添加新用户及赋予权限]]
修改配置文件
1
2
3
4
5
6
7
8
9
10
11
12
13
14
15
16
17
18
19
20
21
22
23
24
25
修改配置文件,绑定ip修改为 0.0.0.0
vim /etc/mysql/mysql.conf.d/mysqld.cnf

[mysqld]
user                    = mysql
bind-address            = 0.0.0.0
mysqlx-bind-address     = 127.0.0.1
pid-file        = /var/run/mysqld/mysqld.pid
socket          = /var/run/mysqld/mysqld.sock
datadir         = /var/lib/mysql
log-error       = /var/log/mysql/error.log

key_buffer_size         = 16M
myisam-recover-options  = BACKUP

tmp_table_size=512M
max_heap_table_size=1024M
slow_query_log=1
long_query_time=10
slow_query_log_file=/var/log/mysql/mysql_slow_query.log
max_binlog_size   = 100M

max_connections = 10000
max_user_connections = 10002
max_allowed_packet = 100G
卸载 mysql
1
2
3
sudo rm /var/lib/mysql/ -R
sudo rm /etc/mysql/ -R
sudo apt autoremove mysql* --purge
mysql客户端连接报错
1. Error: ER_NOT_SUPPORTED_AUTH_MODE: Client does not support authentication protocol requested by server; consider upgrading MySQL client
本文由作者按照
CC BY 4.0
进行授权